Are you ready to transform your classroom reviews or study sessions into dynamic, engaging experiences? Learn how to make a Gimkit—a custom quiz game that blends excitement, strategy, and learning. This guide gives you everything you need to know, whether you’re new to the platform or looking to level up your game creation skills.
Why Make a Gimkit?
Gimkit is a powerful learning platform that turns quizzes into vibrant, game-based experiences. What sets it apart?
-
Strategic gameplay: Students earn virtual cash for correct answers and can spend it on power-ups—adding a layer of strategy to learning.
-
Variety of modes: Choose from Classic, Team, Trust No One, and more to best fit your instructional goals.
-
Real-time analytics: Track student progress live and review detailed reports after each session.
-
Accessibility & flexibility: Players can join without accounts, and free plans allow meaningful gameplay.
Creating your own Gimkit gives you the power to tailor quizzes to your classroom needs and keep students motivated.
Step 1: Create Your Gimkit Account
Whether you’re a teacher or student, getting started is quick:
-
Visit gimkit.com and click Sign Up.
-
Choose your role (Teacher gives full hosting access).
-
Register with an email or Google account, then verify your email.
Gimkit offers a free tier with core features, while Pro (paid monthly or via school licenses) unlocks advanced modes, multimedia uploads, and deeper analytics.
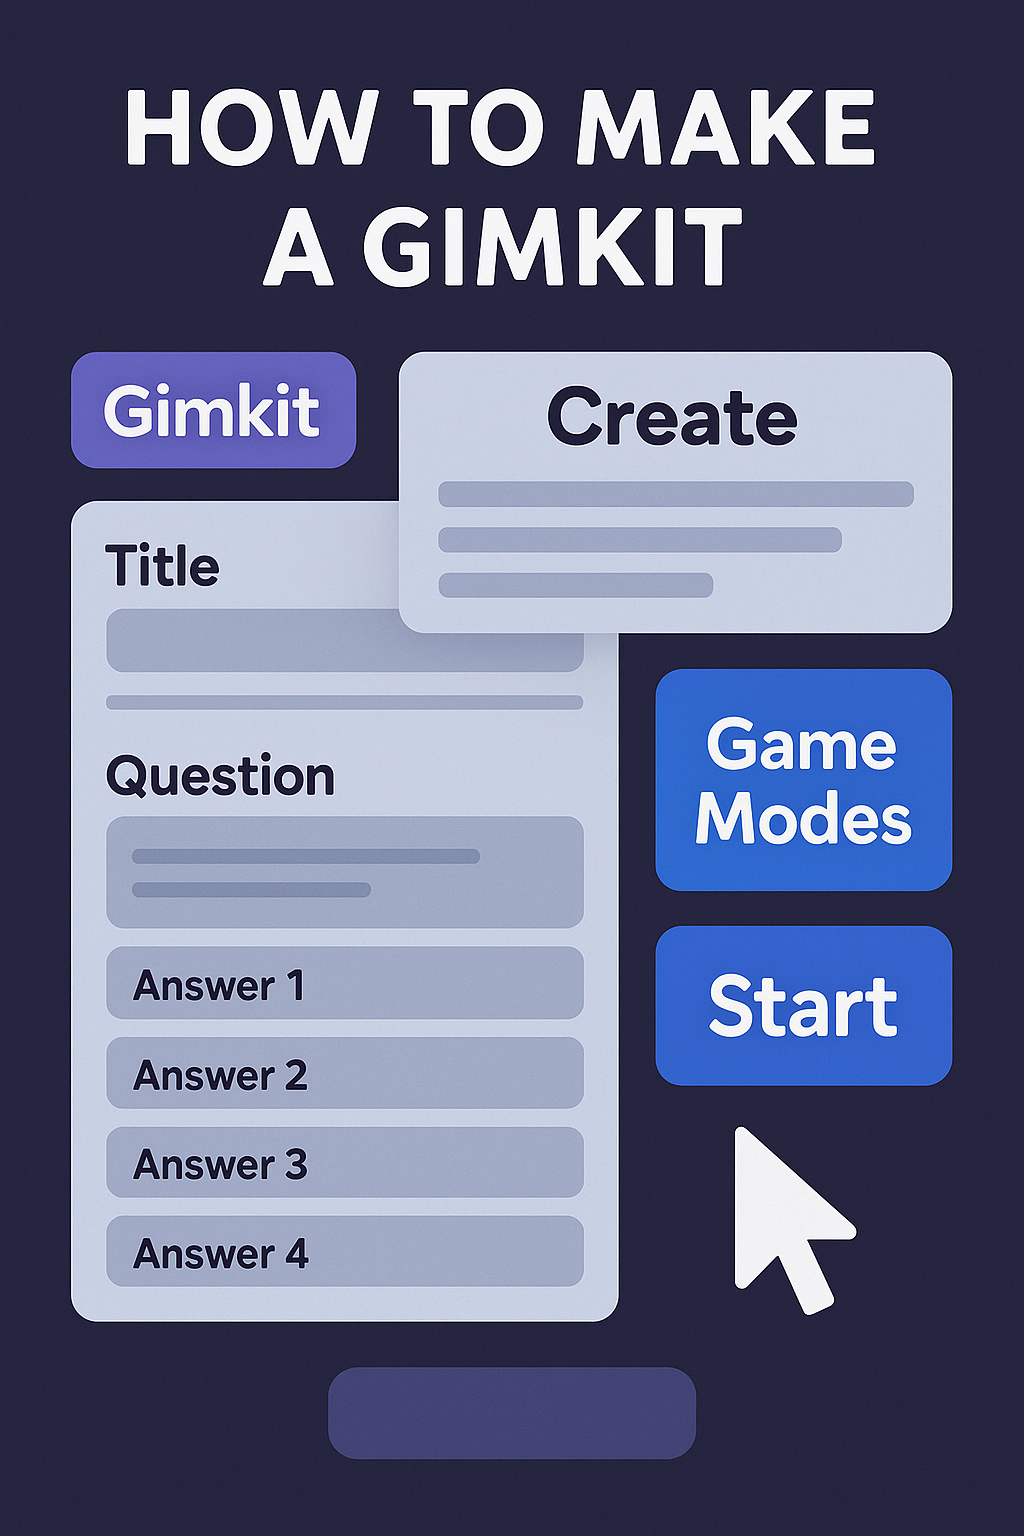
Step 2: Create Your First Kit
In Gimkit, a Kit is your quiz. Here’s how to set one up:
-
From the dashboard, click New Kit/Create Kit.
-
Enter a title, select subject area, and choose a cover image via Unsplash or upload your own.
-
Choose how to build your questions:
-
Manually type in questions and answers
-
Import from Quizlet or CSV
-
Use templates or copy from library/shared Kits
-
Pro tips for question creation:
-
Use mixed question types: multiple-choice, text-input, short answer.
-
Incorporate multimedia (images, audio, video) to boost engagement.
-
Mix difficulty—easy for confidence, challenging to stretch skills .
-
Aim for ~15–30 questions—enough variety for a lively session without overwhelming players.
Once your questions are in place, hit Finish Kit and return to your dashboard. Your Kit is now ready to play!
Step 3: Host Live or Assign as Homework
Gimkit games run either live (in-class) or as homework. Here’s how to kick things off:
A. Host Live
-
Click Play Live/Host next to your Kit.
-
Choose a game mode:
-
Classic: Solo gameplay
-
Team: Players cooperate in groups
-
Trust No One: For advanced, role-based gameplay
-
-
Adjust game settings:
-
Time limit or money goal
-
Starting cash, power-ups, streak bonuses
-
Themes, cosmetic options
-
-
Generate a join code. Students head to gimkit.com/join, enter the code, and choose a nickname.
-
Launch the game. As host, watch the live dashboard: cash leaderboards, question timings, and individual progress.
B. Assign as Homework
Instead of hosting, click Assign (if available). Set a due date/time, then share the Kit link. Students complete it on their own schedule, and results are recorded .
Step 4: Monitor & Review Results
After a session ends, dive into robust reports:
-
Class averages and most-missed questions help you identify where students struggled.
-
View individual performance to pinpoint which students need follow-up support.
-
Use data for reteaching, targeted mini-lessons, and to refine future Kits.
This immediate insight makes Gimkit a strong tool for formative assessment.
Step 5: Enhance With Pro Settings & Creativity
To elevate your Gimkits, try these additions:
Power-Ups & Rewards
Activate options like Double Cash, Insurance, or Streaks. Students love using game strategy during quizzes .
Multimedia Content
Add images for geography or science, include audio for language practice, videos for historical or cultural context.
Variable Modes
Alternate game modes: Classic → Team → Trust No One. Variety keeps students engaged and improves replayability.
Themed Kits
Build thematic quizzes for holidays, sports events, seasons, or pop culture. Themes boost excitement and connection.
Step 6: Testing & Refinement
Think of game creation as iterative:
-
Pilot test your Kit by joining on a secondary device. Confirm all questions load correctly.
-
Adjust content—drop duplicates, fix typos, clarify confusing questions.
-
Collect student feedback on clarity, enjoyment, and difficulty, then use these insights to improve.
Regular updates keep your Gimkits fresh and effective.
Final Thoughts: Your Game, Your Rules 🎯
Building a Gimkit is simple, flexible, and fun—all you need is a clear learning goal, a dash of creativity, and this guide. Whether you’re reviewing factual knowledge or teaching complex concepts, Gimkit lets you turn assessment into an immersive experience.
Start now:
Sign up → Create your Kit → Add multimedia and power-ups → Host live or assign homework → Review results and iterate.
With Gimkit, you’re not just quizzing—you’re crafting an interactive learning journey that students want to participate in. Your next lesson could be the most memorable yet.
FAQs at a Glance
-
Is Gimkit free?
Yes—Gimkit offers meaningful features and core modes for free. Pro unlocks power-ups, media uploads, advanced modes, and analytics. -
How do students join?
They go to gimkit.com/join, enter the game code shared by the host, type a nickname, and begin. -
What makes Gimkit different from Kahoot or Blooket?
The in-game economy, strategy layers, power-ups, and modes like Trust No One offer deeper engagement. -
Can I import questions?
Absolutely—use Quizlet imports or CSV uploads to speed content creation.
Related Articles:
- Take Learning Live: The Ultimate Guide to Gimkit Live
- Unlock Fun & Learning with Gimkit Code
- Guide to Becoming a Gimkit Host: Tips, Modes & Best Practices
- Gimkit Dashboard: Ultimate Guide for Educators & Students
- Gimkit Hacks: Dominate Every Game with These Pro Strategies
- Gimkit Create Tips & Tricks: Make Quizzes Fun and Interactive