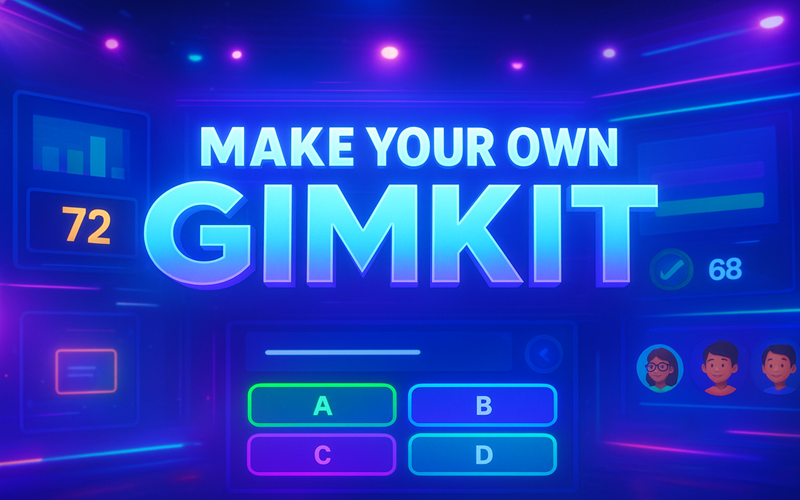
Gimkit is a fantastic tool that turns learning into an exciting game show, making it a favorite for students and teachers alike. If you’re wondering how to make your own Gimkit game, you’re in the right place! This article will walk you through the process of creating a Gimki game from scratch, customizing it to fit your needs, and sharing it with others. Whether you’re a student wanting to make studying fun or a teacher looking to engage your class, this guide is written in simple, easy-to-understand language perfect for anyone, even an 11-year-old. Let’s dive into the world of Gimkit and explore how to make your own Gimkit game that’s both educational and entertaining!
What Is Gimkit?
Gimkt is an online platform where you can create and play interactive quiz games. Think of it like a game show where players answer questions to earn points or in-game currency, which they can use to buy power-ups or other cool features. It was created by a high school student, so it’s designed to be fun and easy to use for students and teachers. The best part? You can make your own Gimki game tailored to any subject, from math to history to science, making learning feel like playtime.
Read More: Blooket Host
Why Make Your Own Gimkit Game?
Creating your own Gimkt game lets you customize the learning experience. Here are a few reasons why it’s awesome:
-
Personalized Learning: You can focus on topics you or your classmates need to practice.
-
Engagement: Games make studying fun, so everyone stays interested.
-
Creativity: Add your own style with themes, images, and unique questions.
-
Collaboration: Share your game with friends or classmates to learn together.
Whether you’re reviewing for a test or teaching a new topic, making your own Gimkit game is a great way to make learning stick.
Getting Started: Setting Up Your Gimkit Account
Before you can make your own Gimki game, you need a Gimit account. Here’s how to get started:
-
Visit the Gimkt Website: Go to www.gimkt.com on your computer or tablet.
-
Sign Up: Click the “Sign Up” button. You’ll need an email address and a password. If you’re under 13, ask a parent or teacher to help you sign up.
-
Verify Your Email: Check your email for a confirmation link from Gimkt and click it to activate your account.
-
Log In: Once your account is ready, log in to access the dashboard.
Now you’re ready to start creating! Let’s move on to the steps to make your own Gimit game.
Step-by-Step Process to Make Your Own Gimkit Game
Making a Gimkit game is like building a fun quiz show. Follow these steps to create something awesome:
Step 1: Plan Your Game
Before you jump into the Gimit website, take a moment to plan. Ask yourself:
-
What’s the goal? Are you teaching a specific topic, like multiplication or world capitals, or just making a fun trivia game?
-
Who’s playing? Is this for your classmates, friends, or a specific grade level?
-
How long should it be? games can last 5 to 60 minutes. Shorter games are great for quick reviews, while longer ones work for deeper learning.
-
What type of questions? Gimkt offers multiple-choice, true/false, text-input, or even image-based questions.
Planning helps you make your own Gimkt game that’s fun and effective. For example, if you’re studying animals, you could create a game with questions about habitats, diets, or fun facts.
Step 2: Create a New Kit
In Gimkit, a “kit” is what they call a game. Here’s how to start:
-
Go to the Dashboard: After logging in, you’ll see your dashboard.
-
Click “New Kit”: This button is usually on the main screen. It’s like saying, “Let’s make a new game!”
-
Name Your Kit: Give your game a fun title, like “Animal Adventure Trivia” or “Math Mania.”
-
Choose a Topic: Pick the subject or theme, like science or history. You can also set it to public (anyone can play) or private (only people with the link can join).
Step 3: Add Questions
Questions are the heart of your Gimkit game. Here’s how to add them:
-
Click “Add a Question”: You’ll see this option once you’ve created your kit.
-
Choose a Question Type:
-
Multiple-Choice: Write a question and add up to four answer choices. Pick the correct one.
-
True/False: Ask something that’s either true or false.
-
Text-Input: Players type their answers, great for spelling or math problems.
-
Image-Based: Upload a picture and ask a question about it, like “What animal is this?”
-
-
Write Clear Questions: Keep them simple so everyone can understand. For example, instead of “What is the capital city of the French Republic?” just ask, “What’s the capital of France?”
-
Add Answers: Make sure to mark the correct answer and add a few wrong ones to keep it challenging.
-
Include Explanations (Optional): You can add a short note explaining the correct answer, which helps players learn.
Try to add at least 10-15 questions to keep the game exciting. Mix up the types to make your own Gimkit game more interesting.
Step 4: Customize Your Game
This is where you can make your own Gimkit game stand out! lets you add fun elements like:
-
Themes and Backgrounds: Choose a cool background image or color scheme. For example, a space theme for a science game or a jungle theme for an animal quiz.
-
Fonts and Colors: Pick fonts and colors that are easy to read and match your theme.
-
Power-Ups: Add power-ups like extra points or extra time to reward players for correct answers.
-
Clues: Include hints to help players if they’re stuck.
-
Penalties: Make it challenging by taking away points for wrong answers.
Customizing makes your game visually appealing and keeps players engaged. For example, if you’re making a history game, you could use a vintage map as the background.
Step 5: Test and Refine
Before sharing your game, test it to make sure it’s fun and works properly:
-
Play It Yourself: Go through the game to check for mistakes, like wrong answers or unclear questions.
-
Ask for Feedback: Have a friend, sibling, or teacher play it and tell you what they think.
-
Make Changes: Fix any errors and adjust the difficulty. If it’s too hard, add easier questions. If it’s too easy, make it more challenging.
Testing ensures your Gimkit game is ready for prime time!
Step 6: Share and Play
Once you’re happy with your game, it’s time to share it:
-
Publish Your Kit: Click the “Finish” or “Publish” button to make your game live.
-
Get the Link: will give you a unique link to share with players.
-
Play Together: Share the link with your classmates, friends, or teacher. You can play live in class or assign it as homework.
You can also track how players do, which is great for teachers to see who needs extra help.
Tips for Making Your Own Gimkit Game Awesome
Here are some extra tips to make your own Gimkit game a hit:
-
Keep It Simple: Don’t make questions too complicated. Simple is fun and easy to understand.
-
Use Pictures and Videos: Adding images or short video clips makes the game more exciting.
-
Mix Up Difficulty: Include easy, medium, and hard questions to keep everyone engaged.
-
Encourage Teamwork: Set up the game so players can work in teams, which makes it more fun.
-
Make It Competitive: Add a leaderboard to show who’s winning, which motivates players.
Customizing with Gimkit Creative
Gimkit Creative is a special feature where you can build your own maps and games beyond just quizzes. Here’s a quick look:
-
Access Gimkit Creative: On the website, click the “Creative” button.
-
Create a New Map: Start a new map and design a game world, like a treasure hunt or adventure.
-
Add Interactive Elements: Use drag-and-drop tools to add objects, characters, or challenges.
-
Link to Your Kit: Connect your map to your quiz questions for a unique game experience.
Gimkit Creative lets you make your own game even more interactive, like creating a virtual world where players answer questions to move forward.
Best Practices for Engaging Games
To make your own Gimkit game truly shine, follow these best practices:
-
Match the Game to Your Audience: If it’s for younger kids, use bright colors and simple words. For older students, add more challenging questions.
-
Keep It Short and Sweet: A 10-15 minute game is perfect for most classrooms.
-
Use Real-World Examples: Relate questions to things players know, like popular movies or animals.
-
Update Regularly: If you reuse the game, add new questions to keep it fresh.
Troubleshooting Common Issues
Sometimes things don’t go perfectly. Here’s how to fix common problems:
-
Images Not Showing: Make sure your images are in .jpg, .png, or .gif format and not too big.
-
Game Too Hard: Add easier questions or more clues.
-
Players Not Joining: Double-check that you shared the correct link and the game is set to public or private as needed.
If you run into bigger issues, s help center (help.gimki.com) has lots of answers.
Why Gimkit Stands Out
Gimkit isn’t just another quiz tool—it’s a game-changer! Unlike traditional quizzes, Gimkit uses game elements like power-ups and currency to make learning feel like an adventure. Plus, it’s easy to make your own Gimkt game, so you can create exactly what you need. Whether you’re a student studying for a test or a teacher making lessons fun, Gimkit helps everyone learn while having a blast.
Conclusion
Creating your own Gimkit game is a fun and easy way to make learning exciting. By planning your game, adding engaging questions, customizing the look, and testing it out, you can make your own Gimkit game that’s perfect for your classroom or study group. Whether you’re using it to review math facts, learn history, or just have fun with friends, Gimkit makes education feel like a game show. So, what are you waiting for? Head to, start creating, and share your awesome game with the world!
FAQs About Making Your Own Gimkit Game
1. Can I make my own Gimkit game for free?
Yes, you can create a basic Gimkit game for free with a standard account. Some advanced features, like certain game modes or extra customization, may require a paid plan, but the basics are free.
2. How many questions should I include in my Gimkit game?
Aim for 10-15 questions for a short game or 20-30 for a longer one. This keeps the game engaging without being overwhelming.
3. Can I use my own pictures in a Gimkit game?
Absolutely! You can upload .jpg, .png, or .gif images to use as backgrounds, question images, or answer choices to make your game more fun.
Read More: 5starsstocks.com Best Stocks